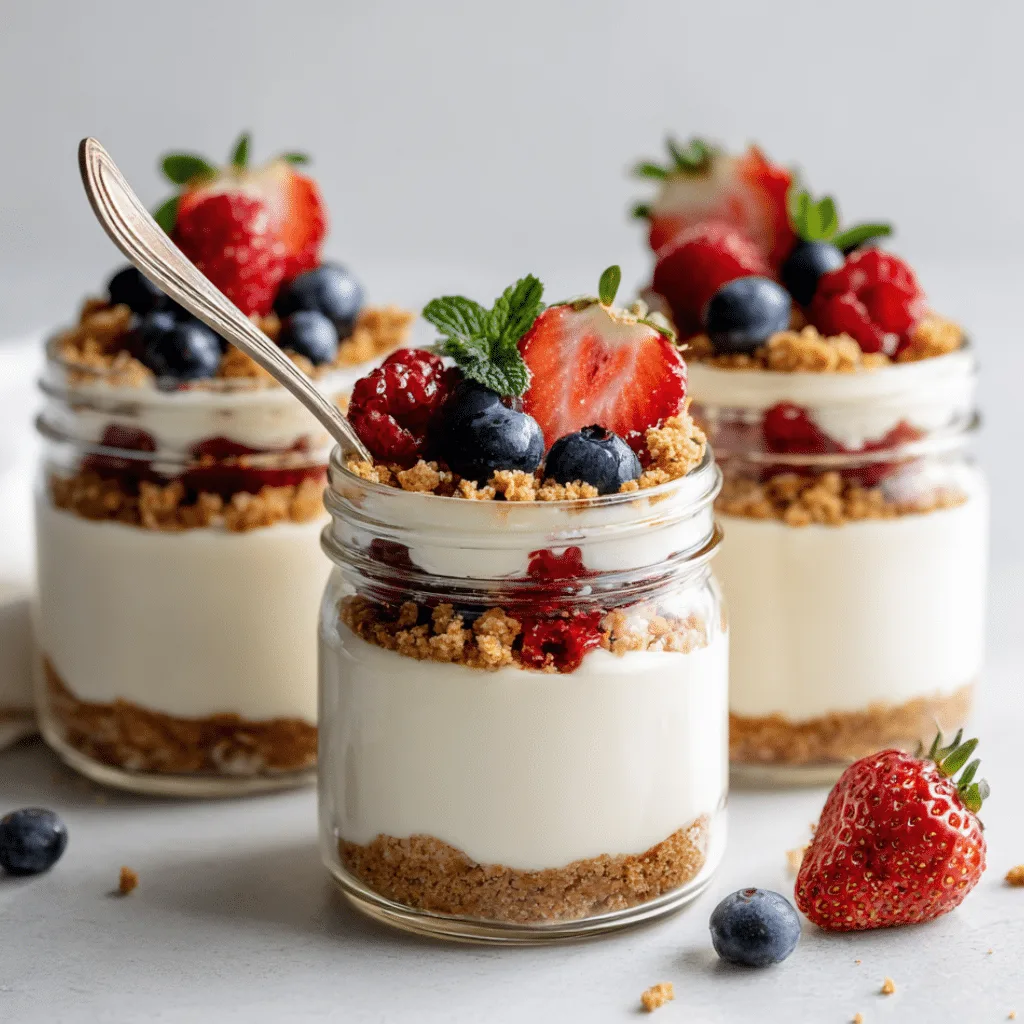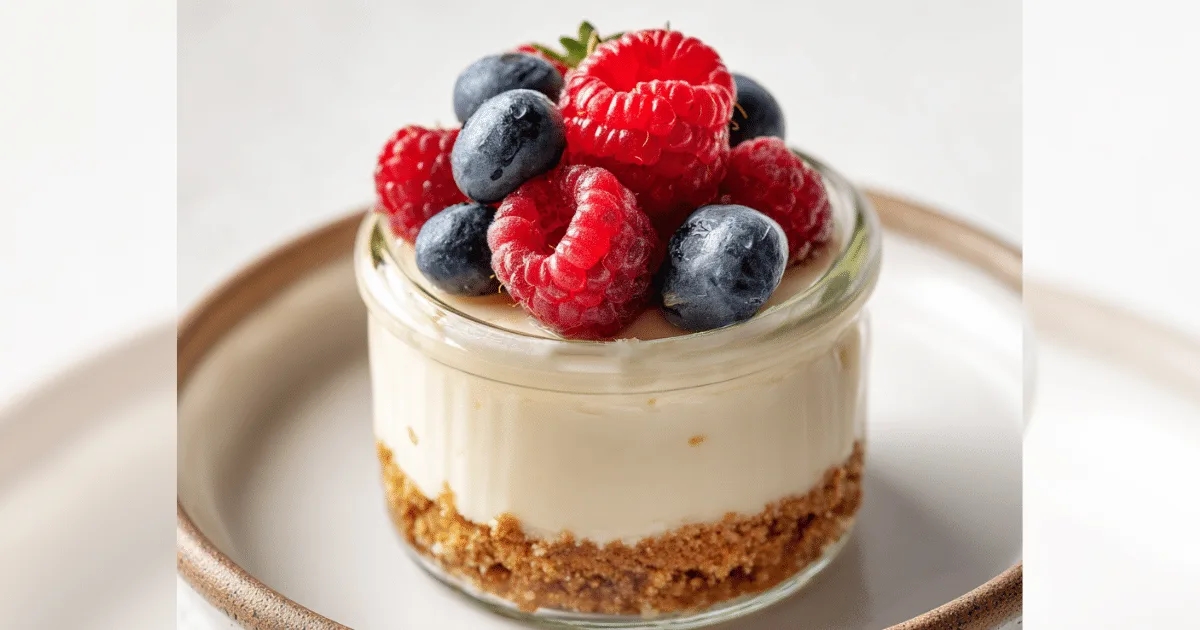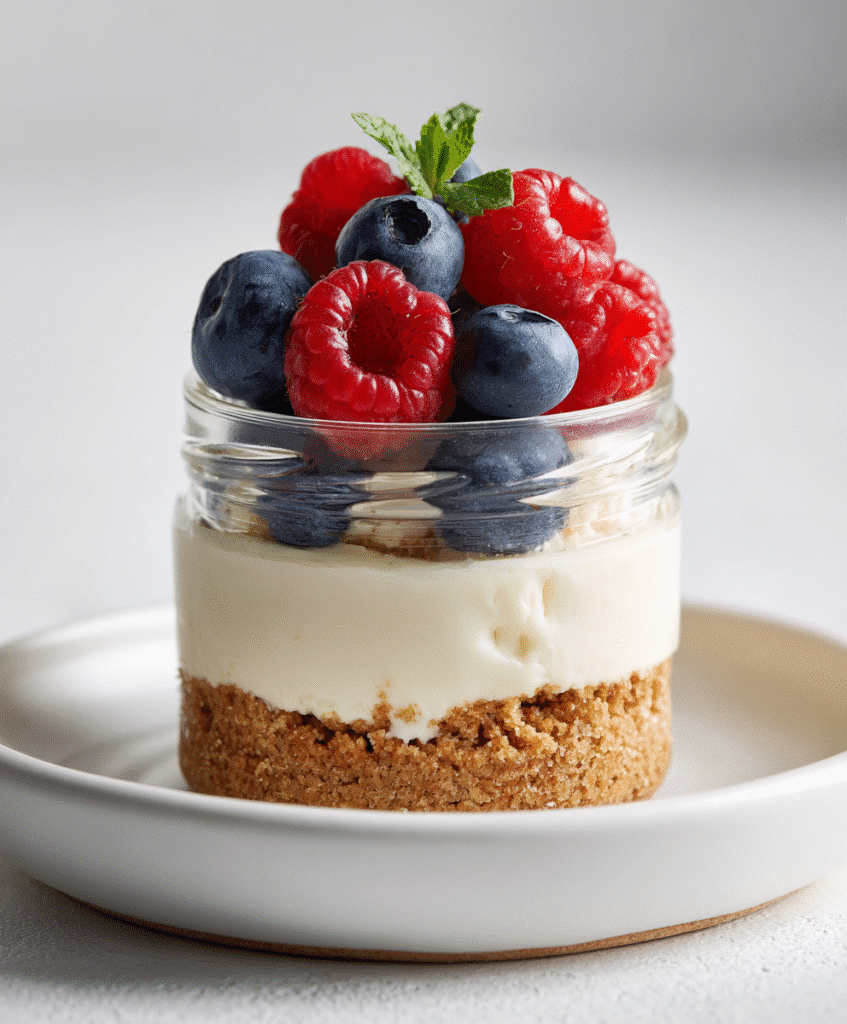
Protein Cheesecake Jars are the perfect answer to your dessert cravings when you’re looking for something that feels indulgent but fuels your body. As a busy mom of two, I’m always on the hunt for recipes that satisfy both my sweet tooth and my nutritional goals. These jars check every box—creamy, rich, naturally sweetened, and packed with protein. They’ve become a staple in our fridge, whether it’s for an after-school snack, a post-dinner treat, or a fun kitchen activity with the kids. In this article, we’ll dive into what makes Protein Cheesecake Jars so irresistible, how to make them, and creative ways to switch them up.
Table of Contents
Why You’ll Fall in Love with Protein Cheesecake Jars
A Delicious Take on High-Protein Desserts
Protein Cheesecake Jars are more than just trendy—they’re a practical, tasty way to enjoy dessert without derailing your wellness goals. Made with cottage cheese and full-fat Greek yogurt, these jars are naturally rich in protein and calcium. What you get is that same creamy cheesecake feel with none of the hassle and all of the nutritional payoff.
This recipe came to life on a cozy Saturday afternoon with my daughter, when we started playing around with cottage cheese and crushed graham crackers. I was craving cheesecake but wanted something lighter and kid-friendly. The result? A dessert that’s high in protein, naturally sweetened with maple syrup, and layered with antioxidant-rich berries.
Unlike many “protein desserts” that taste chalky or artificial, these jars are incredibly smooth and fresh. If you’ve tried my Peanut Butter Protein Bites, you already know I’m all about real food with real flavor. These jars continue that mission beautifully—no protein powder required (though you can add some if you like).
They also make portion control effortless. The jar format keeps things neat, which is especially handy for meal prep or entertaining. You can even make them ahead for brunches, playdates, or holiday spreads—just like I do for our Sunday family potlucks.
Simple, Wholesome Ingredients with No Guilt Attached
One of the best parts about these Protein Cheesecake Jars is that the ingredients are simple and easy to find—most of them are already in your fridge or pantry:
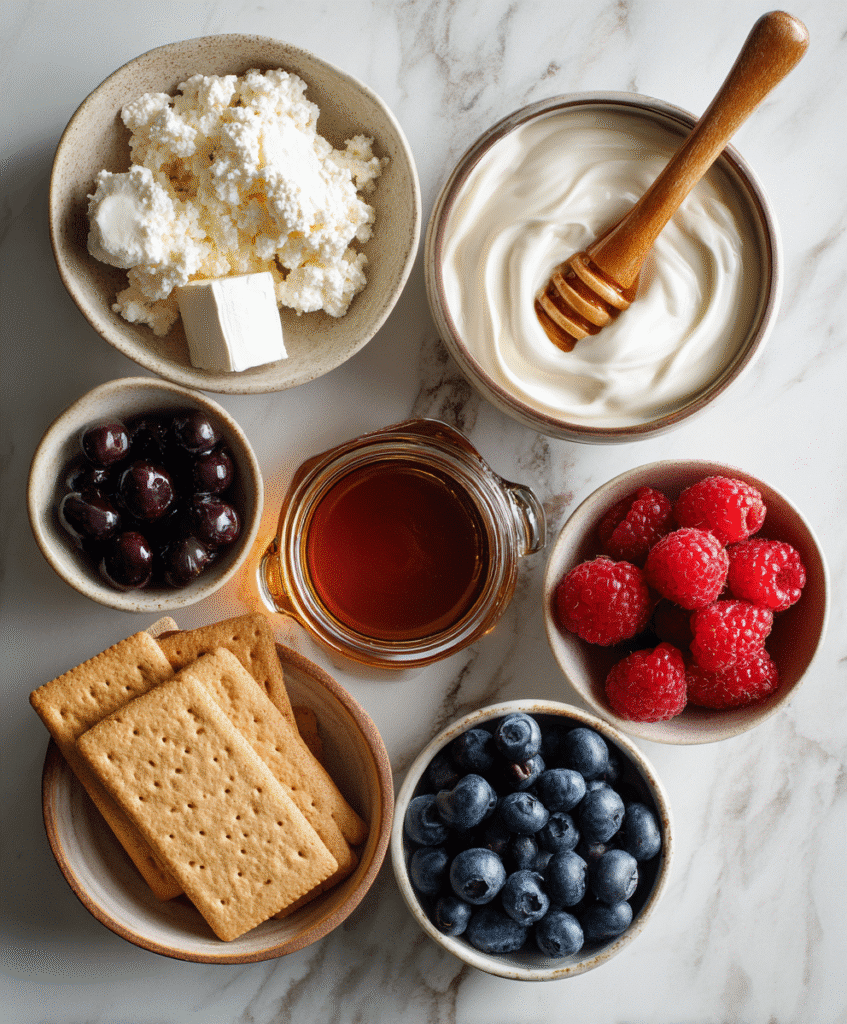
- Cottage cheese: Blended until creamy, it forms the protein-packed base.
- Greek yogurt: This is where the magic happens. Thick, creamy, and just tangy enough to mimic that classic cheesecake flavor, Greek yogurt turns the mixture into something rich and velvety. It balances the sweetness and gives each bite a soft, luscious texture you’d never expect from a no-bake dessert.
- Maple syrup: Think of it as nature’s sweet whisper. Smooth and golden, maple syrup brings just the right amount of sweetness to every layer—no refined sugar, no guilt. It blends perfectly with the creamy base, adding depth without overpowering the fresh fruit or graham crackers.
- Crushed graham crackers: Bring that classic cheesecake crust vibe.
- Fresh berries: Boost flavor, nutrition, and beauty in every layer.
The process is so fun that I let my kids help me build the jars. My son likes to sneak berries while stacking, and I don’t mind—it’s all part of the experience. I also love how flexible this recipe is. You can swap in seasonal fruits like peaches or cherries or switch graham crackers for crushed oats if you’re going gluten-free.
You’ll find the full ingredients and instructions below, but trust me—it’s as easy as blending, layering, and chilling. And the taste? Creamy, naturally sweet, and so satisfying.
Protein Cheesecake Jars – Creamy, No-Bake High Protein Dessert
Ingredients
Method
- Add cottage cheese to a food processor and blend for 1–2 minutes until very smooth.
- Add maple syrup and blend again to fully combine.
- In a mixing bowl, fold the blended cottage cheese and Greek yogurt together using a silicone spatula.
- Begin layering each jar: start with graham cracker crumbs, then a spoonful of cheesecake mixture. Repeat the layers, adding berries between and on top.
- Garnish with fresh fruit. Chill jars for at least 1–2 hours before serving for best texture.
Nutrition
Notes
- Use any fresh or frozen berries you prefer—blueberries, raspberries, or chopped strawberries work beautifully.
- For a lower-carb version, swap the graham crackers with crushed nuts or almond flour crust.
- Can be stored in the fridge for up to 4 days.
- To make it dairy-free, use coconut yogurt and tofu or dairy-free cottage cheese alternatives.
- For more sweetness, drizzle with a bit of honey or extra maple syrup just before serving.
Tried this recipe?
Let us know how it was!Personalize Your Protein Cheesecake Jars — Flavors That Fit Your Life
Your Cravings, Your Rules
What makes Protein Cheesecake Jars a staple in my kitchen isn’t just how delicious they are—it’s how easy it is to turn them into something new every single time. Once you master the basic version, the possibilities start flowing.
Think of them like your favorite pair of jeans—you can dress them up, keep them casual, or change the vibe with just one small detail. Sometimes I crave the cozy warmth of cinnamon and apples, so I stir in a little spice and top the jars with soft apple slices. Other times, I need something bright and refreshing, like a layer of lemon zest folded into the base with a handful of blueberries on top.
These jars can match your mood, your pantry, or the season. That’s the kind of flexibility every home cook needs.
Try some of these flavor ideas when you’re ready to mix things up:
- Honey fig: Add a drizzle of honey and sliced fresh figs—simple, elegant, and absolutely divine.
- Cherry mocha: Blend in a little cocoa and instant coffee, then top with cherries for a bold, rich twist.
- Peach cobbler: Use ripe peach slices, a pinch of cinnamon, and crushed oat cookies in place of graham crackers.
- Mango & Lime Bliss: Stir a touch of fresh lime zest into the creamy filling, then crown it with juicy mango chunks for a vibrant, sun-kissed treat that tastes like summer in a jar.
These jars are more than dessert. They’re a creative outlet. Every time I make them, I find myself tweaking just one element—sometimes it’s the texture, sometimes the topping—and each variation feels brand new.
For a fruity twist, you might enjoy something like my Rhubarb Cheesecake Squares when rhubarb is in season.
Switch It, Don’t Skip It — Ingredient Swaps That Work
One thing I’ve learned over the years is that a recipe should bend with your needs—not break. Protein Cheesecake Jars are the kind of dessert that respects your pantry and your preferences. You can make smart swaps without losing flavor, and the texture stays dreamy every time.
Here’s how I adjust mine depending on what we have or what we’re avoiding:
- Dairy-free? Use a thick coconut or almond yogurt and blend with silken tofu for the perfect creamy base.
- No maple syrup on hand? Use honey, agave, or mashed dates for a natural sweet alternative.
- More protein needed? Add a small scoop of plain or vanilla protein powder to the whipped mixture—but go easy so it stays smooth.
- No graham crackers? Crushed nuts, toasted oats, or even a few pieces of my Almond Butter Bars make great layers.
And the classic question: Can you use cottage cheese instead of cream cheese? Yes, and it’s not a compromise—it’s a win. When you blend cottage cheese well, it becomes silky and mellow, giving you all the creamy richness with less fat and way more protein.
That’s the beauty of this recipe. It doesn’t ask for perfection. It gives you room to experiment and still come out with something your family will rave about. Last week, I made a version with maple-roasted strawberries and a dash of cardamom—it was gone in under an hour.
If you’re like me and love desserts that give back—nutrition, comfort, and joy—you’ll want to keep these jars on regular rotation.
How to Layer, Store, and Serve Protein Cheesecake Jars Like a Pro
The Art of the Perfect Jar
Making Protein Cheesecake Jars is more than mixing ingredients—it’s about building something beautiful, layer by layer. Each spoonful should be balanced, creamy, and satisfying from top to bottom. And thankfully, it’s as fun to put together as it is to eat.
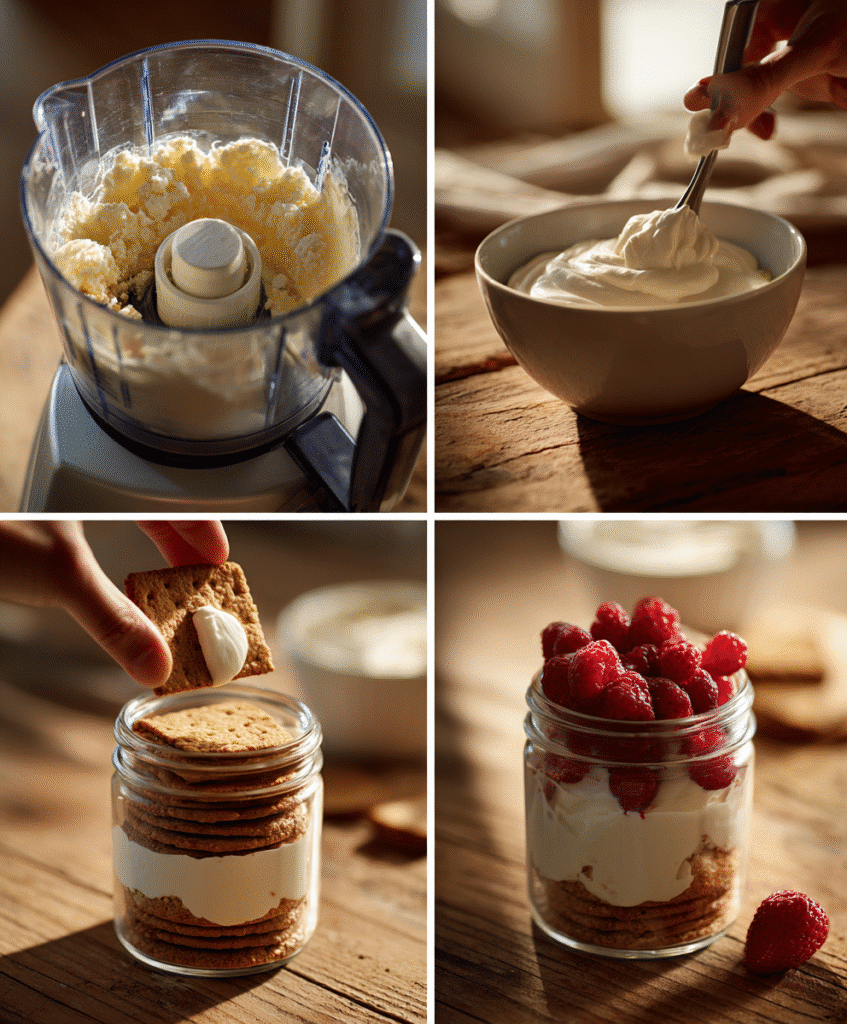
Here’s how I do it every time:
- Start with crushed graham crackers: This gives your base a sweet, crumbly texture. I like to lightly press it down with the back of a spoon so it holds its shape.
- Spoon in a thick layer of the cheesecake filling—a velvety blend of whipped cottage cheese, full-fat Greek yogurt, and just the right touch of maple syrup that melts together into a smooth, dreamy center.
- Add a middle layer of graham crumbs: A little more crunch never hurts—and it breaks up the creaminess in the best way.
- Top with berries or fruit: Whether you go with raspberries, sliced peaches, or mango chunks, this layer adds color and brightness.
- Finish with more cheesecake mixture: Spoon a final dollop on top, then add your finishing touches—berries, nuts, or even a sprinkle of cinnamon.
These steps not only look gorgeous in the jar, they create layers of flavor that make every bite interesting. And if you’ve ever tried my No-Bake Breakfast Cups, you already know the joy of spooning through layers that each bring something different.
Storage Tips for Busy Lives
Protein Cheesecake Jars are make-ahead friendly, which makes them perfect for meal prep or parties. I usually prepare 4 jars on a Sunday and pop them in the fridge for the week ahead. They’re still fresh and creamy even after 3–4 days.
Here are my favorite storage tips:
- Use 8-ounce mason jars with lids for easy stacking in the fridge.
- Let the jars chill at least 2 hours before serving so the layers set and the flavors meld.
- If using fresh fruit, add it just before serving to keep everything crisp and vibrant.
Want to take these jars on the go? I pack them in small leak-proof containers with a mini spoon. Perfect for school lunches, road trips, or post-workout snacks.
For more packable recipe ideas like this, explore my Family Snack Prep Collection. It’s full of grab-and-go goodness that keeps everyone satisfied.
Sweet Simplicity, One Spoon at a Time
These Protein Cheesecake Jars are more than a quick dessert—they’re a reminder that simple, nourishing ingredients can still feel indulgent. Whether you’re craving a healthier sweet treat, prepping snacks for the week, or creating a fun family kitchen moment, these jars deliver every time. They’re rich without being heavy, sweet without being too much, and endlessly customizable to your cravings.
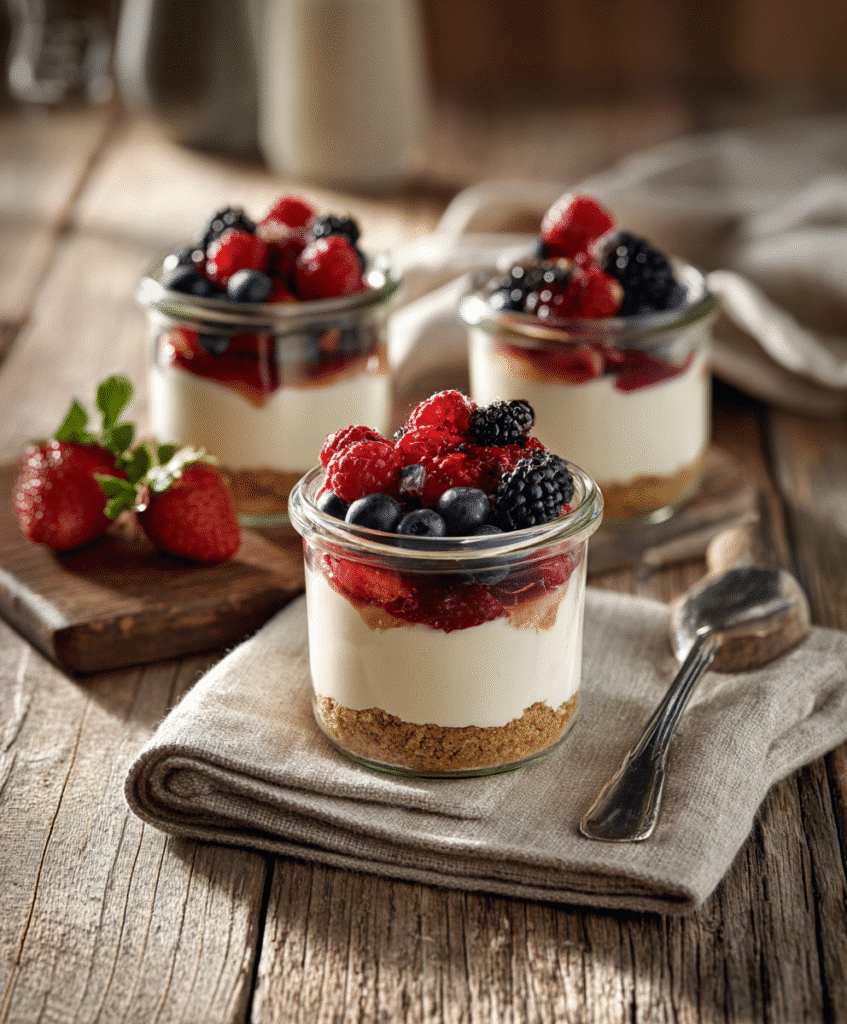
From lazy Sundays to busy school nights, they’ve become a go-to in our home. I hope they bring a little more joy and nourishment to yours too.
Let’s keep cooking memories, one jar at a time.
Love simple, nourishing treats like this?
Follow Simply Taster on Facebook, Instagram, and Pinterest for fresh protein-packed ideas, kid-friendly desserts, and easy kitchen inspiration—served daily.
Questions Answered – All About Protein Cheesecake Jars
Can I put protein powder in cheesecake?
Absolutely. If you want to give your Protein Cheesecake Jars an extra boost, a scoop of your favorite protein powder blends in smoothly with the cottage cheese and yogurt base. Stick with unflavored or vanilla for the best results. Just be sure to blend it thoroughly so the texture stays creamy and not gritty. I recommend starting with half a scoop, then adjusting based on taste. It’s an easy upgrade, especially if you’re using these jars as a post-workout snack or breakfast-on-the-go.
How to make cheesecake in a jar?
Making cheesecake in a jar is surprisingly simple. No oven, no fancy tools—just a few real ingredients and a blender. Start by whipping cottage cheese until smooth, then mix it with Greek yogurt and maple syrup. Layer your jar with crushed graham crackers, the creamy filling, and fruit of choice. Chill it for a couple of hours and serve. That’s it! The result is a rich, satisfying dessert that looks elegant and tastes like classic cheesecake, minus the baking stress. It’s the kind of treat I love to teach in my no-bake family dessert workshops.
Why put gelatin in cheesecake?
Traditional no-bake cheesecake recipes often use gelatin to help the mixture set firmly. While my Protein Cheesecake Jars don’t require it (thanks to the thickness of cottage cheese and Greek yogurt), you can certainly add a small amount of bloomed gelatin if you want a firmer texture—especially if you’re serving them outside in warmer weather. Just remember: a little goes a long way. For most versions, though, chilling the jars for a couple of hours is all you need for a perfectly spoonable consistency.
Can you substitute cottage cheese for cream cheese in cheesecake?
Yes—and it’s one of the reasons I love this recipe so much. Blended cottage cheese becomes incredibly smooth and light, making it a smart, high-protein swap for cream cheese. It offers that same creamy richness without the heaviness, and with way more nutritional value. When combined with Greek yogurt and maple syrup, the flavor is mild and satisfying. Honestly, most people can’t even tell the difference. I’ve tested it at brunches and school events—every jar gets scraped clean.

